PACKAGING FOR MY PRINT PACK.
I decided i wanted to design a box for my publications to go into i really liked the idea of having a perforated pack so i decided to make a simple box the width and height of my box that i could create a perforated line accross it so it could be ripped open.

I designed tabs for the full way around the boxes so i would be able to seal it when i had assembled it.

I decided to use big noodle titling again so it kept the consistency with the rest of my my booklet titles.


I changed the leading on my text so that it will sit closer together. I felt it looked better i also added a block line underneath as i felt something was missing.
The next step was to create a perforated line. I decided to use one of brush patterns from the options.


I chose borders dashed line 1.1


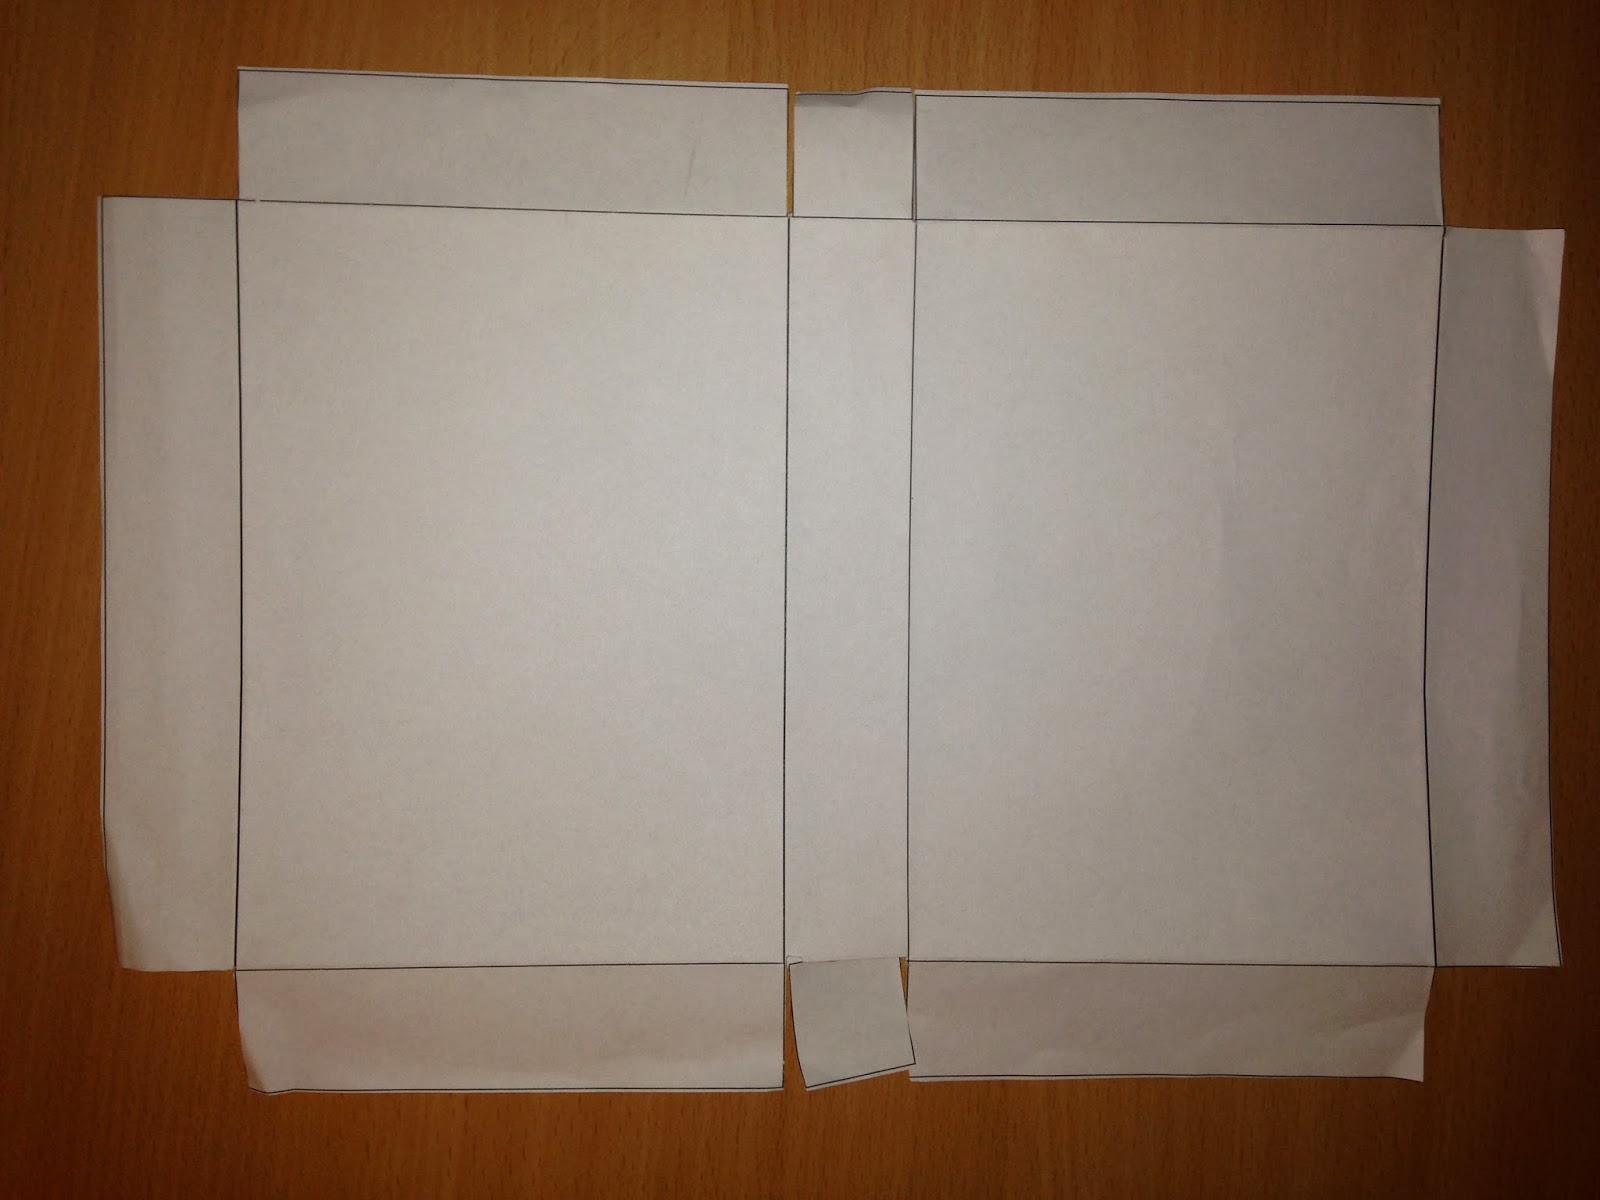
Unfortunately the first net i made didn't work as i had expected the middle folds didn't work so i had to adjust the box.

I redesigned it so the middle had small square flaps i would be able to glue to the inside.


PROTOTYPE :-
I printed out my new net to see how it would look stuck together and my net worked fine.


I wanted to design some stickers for my print pack and for the front of my booklets so i designed them on illustrator and made them into outlines the same i way i would design something for laser cutting but i would create vinyl stickers for this specific design.

I printed them out first on a4 so i could messaure the sizes of the number were right.

This is the vinyl cutter cutting my design.


Perforated Pack-
For the pack i needed to cut out the perforated line i used the laser cutter on my design upwards with the design facing up because the outside of the box won't have any colouring on it. It will be plain with the vinyl sticker on it.

This is the perforated line just an inch down from the top.


When i tried again i decided to add a rasterd cut through my perorated line so that the lines that were broken already had a small engraving so they would tear easier.

Although this was a good idea and it did work it teared to quickly and when i went to score the box it would pop open the perforation instead of me being able to pull it.

I tested a few different ways on an old document before attempting it on a new one so i didn't ruin my work.

The most successful out of the mall was the same perforation but just made thicker so a large strip would rip this made it easier for the stock to pull rather than the old box that didn't have enough strength so it broke off.

Final inside for perforated box.

No comments:
Post a Comment